More and more people are becoming so health conscious nowadays. They want healthy food on their table, and the best way to get healthy food is to choose organic food products. Organic food products are pretty expensive though. This is because the crops were cared for the old way. No pesticides, no insecticides, and no artificial methods of controlling pests. Just the old, time-consuming, back-breaking methods of taking care of your vegetable garden and seeing to it that they’re kept pest-free. However, the cost of organic food products doesn’t stop people from buying them though. In fact, organic food products have become all the more in-demand.
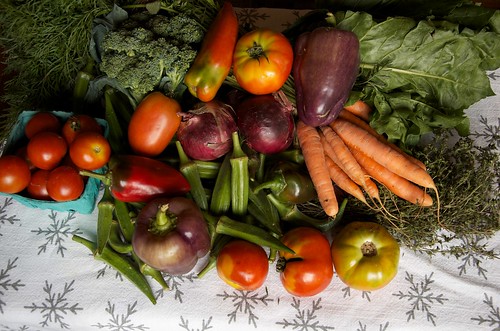
Growing your own organic vegetable garden may be very intensive, but the rewards are plenty.
Healthy Food
As mentioned earlier, no artificial means of pest control are used in growing your own vegetable garden. There are no chemicals used to make the crops healthier, tastier, and bigger. Only natural and organic methods are utilized in caring for the plants.
Because the plants are chemical-free, you can be assured of fresher and healthier vegetables. This also guarantees you of safer and tastier food crops. Vegetables grown organically may not be bigger though, but they more than make up for it in the health benefits they offer.
By eating healthy and chemical-free vegetables, you can improve your family’s health.
Save Money
Another benefit of growing your own organic vegetable garden is that you can save some money on groceries. After all, you no longer need to purchase vegetables in the supermarket because you only have to pick them in your garden.
You can preserve some of your food crops. You can can the tomatoes and preserve them for future use; you can dry your herbs and use them in your cooking; you can even keep the seeds for the next growing season. Having your own vegetable garden can tremendously help you save some money.
Reduce Stress
Tending to your own vegetable garden can also help reduce stress. Going to your garden, doing the mindless task of pulling weeds and picking pests, watering the plants, trimming the shrubberies, cleaning the garden – all these may be very repetitive and tiring, but there is something very meditative about gardening that pretty soon you’ll feel yourself relaxing and the stress leaving your body. After tending to your garden, you’ll feel more invigorated and more optimistic to face the day. After all, the task has given you time to calm down and think things over.
Gardening can help boost emotions, relax you, ease stress away, and make you feel more positive and optimistic.
Earn Money
You can also earn some money from your hobby. There are so many people looking for organic vegetable products, and through word of mouth advertisement, you can sell your products. This is a good way to increase your savings.
Growing your own vegetable garden is indeed very rewarding, but it can also become very tiring especially if the garden is infested with pests. If you have pest problems in your garden and you need the help of a professional pest control company, then always choose a contractor that offers eco-friendly, green pest control services. Their products won’t harm your organic vegetables and the environment.
Attached Images:
- License: Creative Commons image source
Jennifer Dallman writes for PreventivePestControl.com. Growing your own vegetable garden offers a lot of benefits, but you also have to protect them against pests.
